How to Create Your First 5 Workouts
Contents
Going live on Playbook is easy… all you need is a minimum of five workouts!
There are two different types of workouts on Playbook:
Short-form workouts are looping 5-second clips that are great for self-guided exercises.
Long-form workouts are more traditional videos, and are great for yoga and follow-along fitness.
In this article, we’re going to cover how to film and upload short-form videos to create your first five workouts. If you want to create your first five workouts using long-form videos, find those step-by-step instructions here.
How to Create Your First Collection
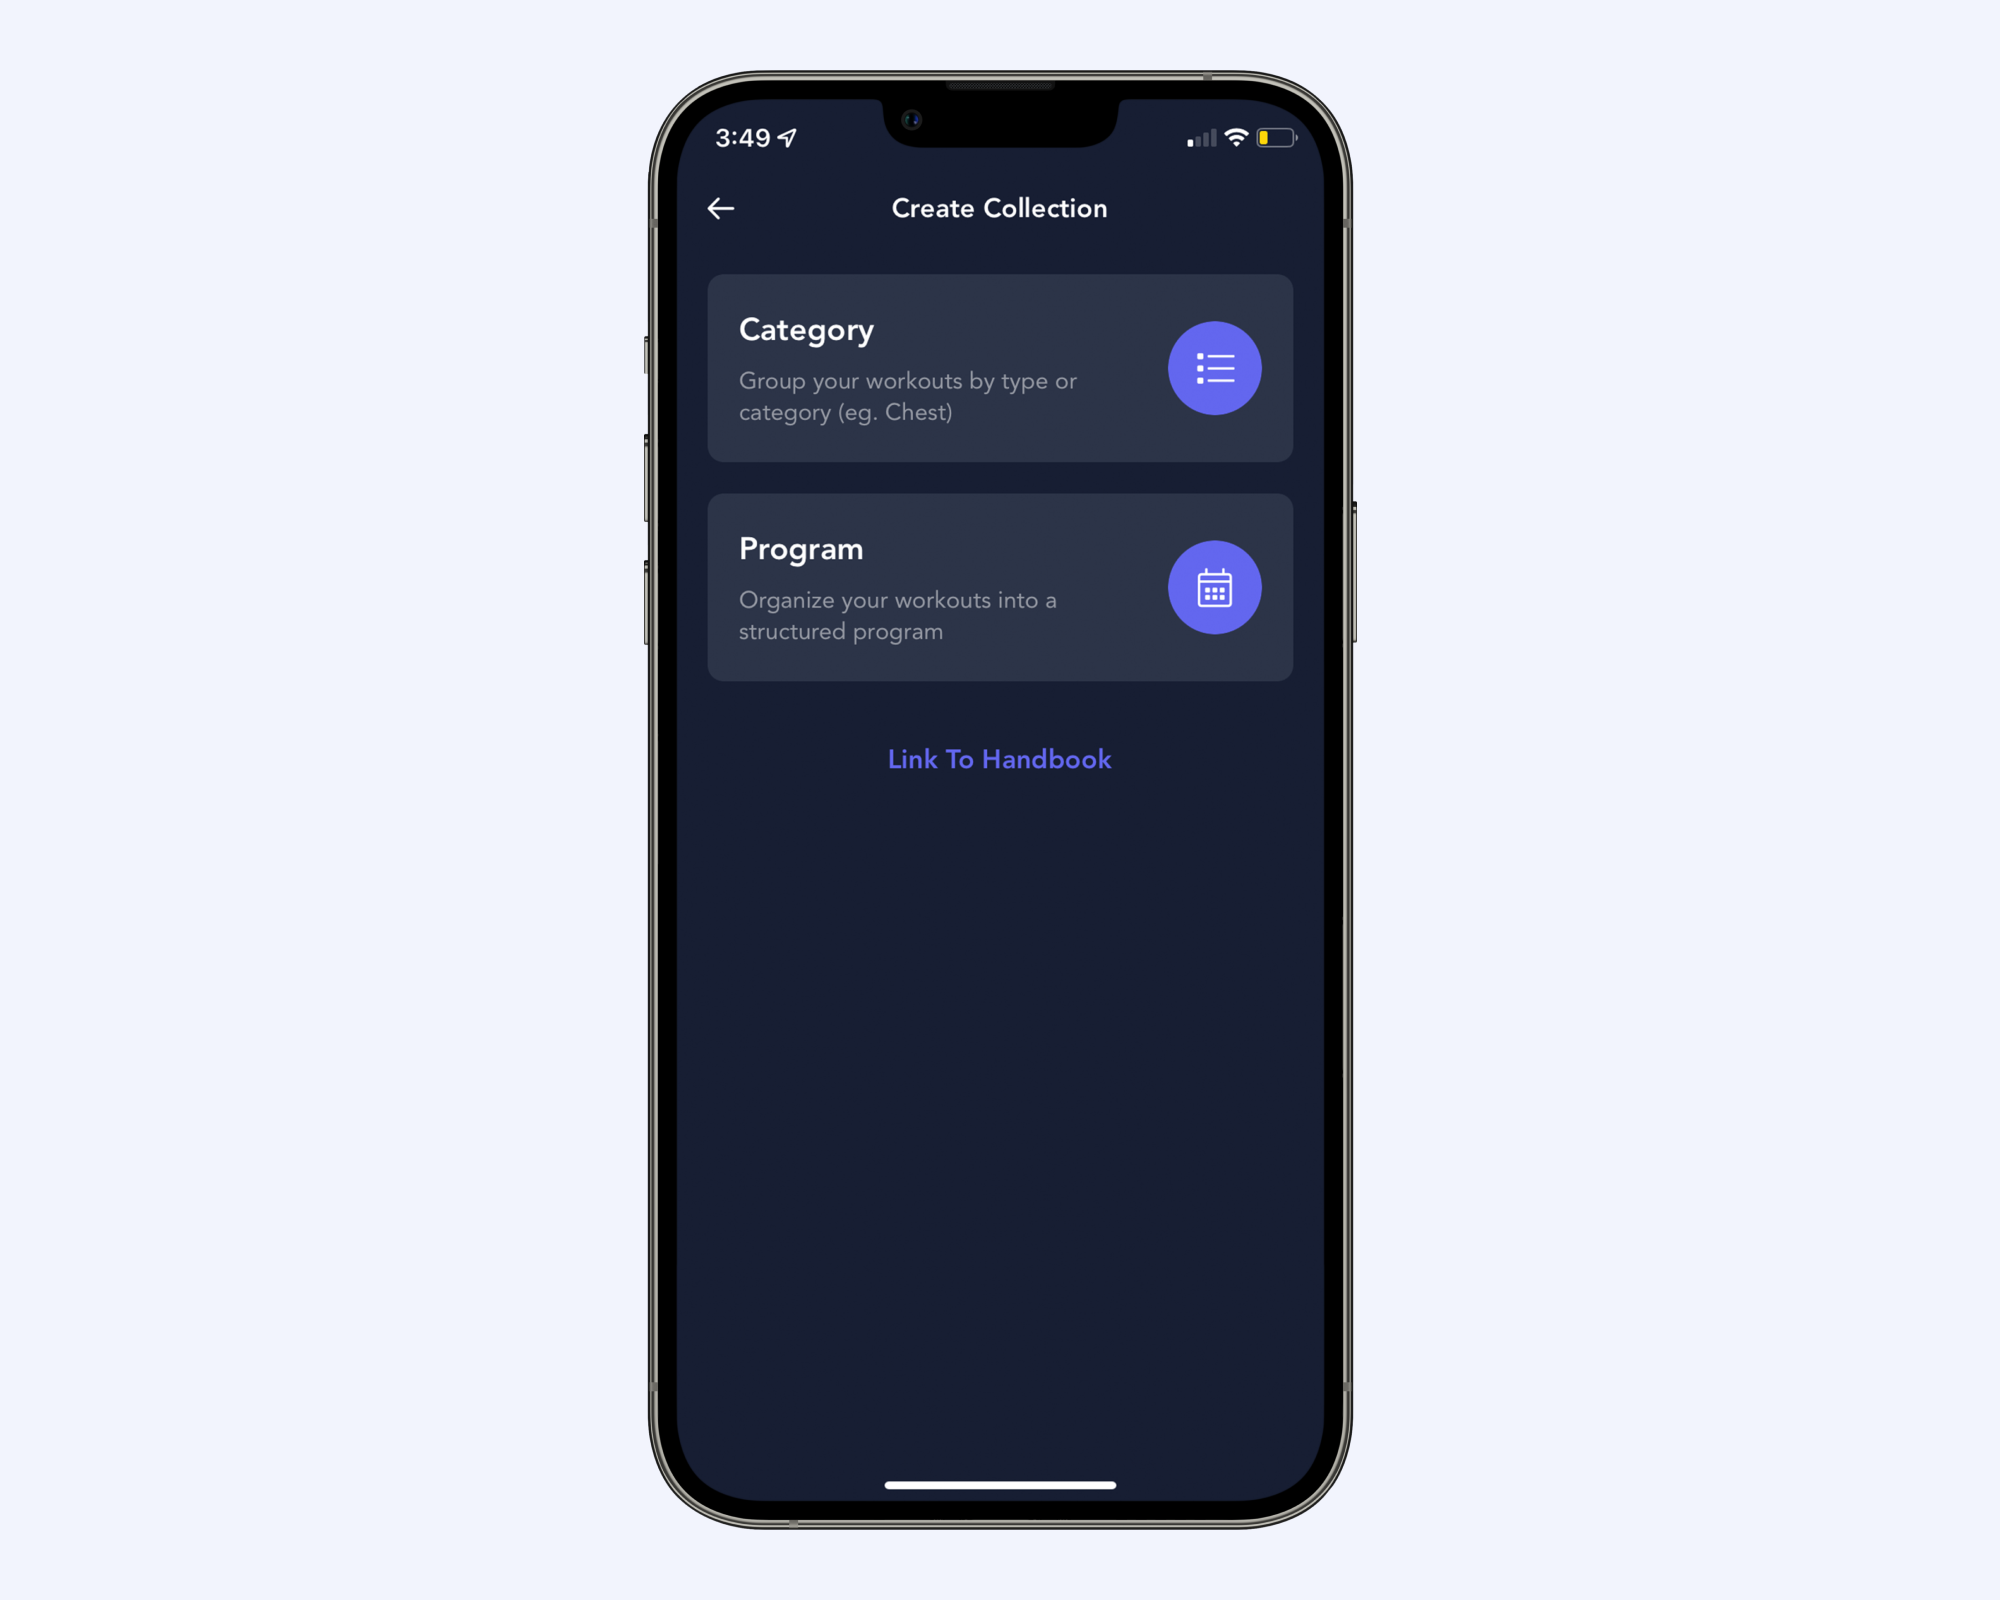
First, you need to create a collection. Programs and categories are types of collections. Programs are structured content (think: 30-Day Core Blast) while categories are unstructured with workouts that focus on a particular muscle group or piece of equipment (think: Leg Exercises).
You can create either to start, but we recommend creating a category called “My Week” or “Workout of the Week” to launch your app.
Fill out the information requested (you can find more detailed instructions here) and click "Add Collection" when finished.
Note: If you decide you want to do a program instead, select the "Program" toggle at the top of the screen and the information will transfer over.


Once your category has been created, you'll want to add the exercises following the steps outlined below.
Keep in mind that you’ll need to refresh the content in this category every week — workouts will stay in your “Workout of the Week” or “My Week” category unless a limit # is set or they are archived. The idea is to update the workouts in this category weekly.
How to Create Short-Form Workouts
Follow these nine steps to create your first five short-form workouts for your "Workout of the Week" or "My Week" category:
Open the Playbook Creator app.
Click the “+” button at the bottom of your screen.

Select “Workout” to create a short-form video.

Add your workout title, a description of what users can expect, and the duration of the workout.
Note: You can film a short intro video explaining what to expect in the workout directly from the app using your phone’s front-facing camera and upload. You can also add tags to help users find your workouts easier in Discovery.
Note: Since these workouts will go into your “My Week” or “Workout of the Week” category, we recommend titling them with the days of the week to make it easy for users to follow. For example, “Monday: 30-Minute Flow,” “Tuesday: Arms & Abs,” Wednesday: 25-Minute Core Burn,” etc.
Example of a workout title with description and exercises:
Workout Title: Monday: Upper Body
Workout Description: Looking for a killer upper body session that will push you to challenge yourself? Check out these workouts.
Exercises:
1. Pushups
2. Planks
3. Back + Chest
4. Body Weight Arms
5. Bicep + TricepAdd exercises to the workout by selecting one of two templates at the bottom of your screen:
"E” is for single exercises."
"C” is for circuit (aka a collection of “E” exercises). It’s a way to string together exercises into a circuit or superset.
Note: There are two additional templates on the bottom of your screen — Library and Video. Library is for reusing clips you’ve already uploaded, while Video is for long-form video.Add your title, description, and any required sets or reps, indicating any rest times as well.
Upload your video directly from your phone’s video library and crop the video to the sets and reps you want right in the app. Only show two to four reps of each exercise.
Videos should be five to 10 second clips.
Click "Save."
Note: A pop-up prompt will ask you if you want to save it to your library. Always click yes — this way, you’ll begin to build out an entire library of your exercise clips.Repeat the above steps to add all of the exercises you want in your workout.
When you’re ready to publish, click “Create” > “Publish” > “Publish Now.”
That’s it! You’ve created your first workout. Now, just repeat the above steps four more times to create your first five workouts for launch.
Note: Once you’ve added your five workouts to the “Workout of the Week” category, you can go back in and click “Edit Info” in your category. You can then add a description (i.e. Fresh new workouts, delivered every Monday morning!) and a cover image.
Tips for Planning & Filming Your Workouts
For ALL workouts (short-form and long-form):
Record a typical week of your workouts. Every day for five days, film your actual workouts and upload them to the app — this is the easiest way to compile the content for your “My Week” or “Workout of the Week” category!
Write out your “My Week” or “Workout of the Week” category workouts. Create a film-list by taking all the exercises across the five workouts and making a list out of them. Go film 2-3 reps of each exercise in a day. If you’ve got 5 exercises in each workout, that’s only 25 exercises that you need to film. Once you have all of your exercises filmed, you can then go and build those 5 workouts following the steps above.
For short-form workouts:
Remember, each exercise is a short, looped clip, so you only need to film two to three reps of each workout.
Film vertically!
If you want your video to be muted, you need to mute the video before uploading into the app, otherwise users can still toggle the sound on.